在這種網路的時代,每個國家都具有自己的相對IP,但是有人常常為了不要讓某人或某地區的人訪問你的網站,常常透過IP限制達成目標,但是好文章、好東西就看不到了,這也造就此款VPN軟體FlyVPN的存在。
VPN(虛擬私人網路)通俗地說,就是把兩個以上的區域網路變成同一個區域網路,大家可以共同實作各自網內的資源的共享,就好像在同一個網內。藉助VPN技術,FlyVPN可以隱藏使用者的IP位址,同時又可以使使用者像使用代理伺服器那樣跨越了網路的國界限制,從而存取任何網站。
很多同學來問哦~一直寫關於IOS的~軟體教學~
今天就來為大家推薦一篇關於Android VPN的教學

VPN(虛擬私人網路)通俗地說,就是把兩個以上的區域網路變成同一個區域網路,大家可以共同實作各自網內的資源的共享,就好像在同一個網內。藉助VPN技術,FlyVPN可以隱藏使用者的IP位址,同時又可以使使用者像使用代理伺服器那樣跨越了網路的國界限制,從而存取任何網站。
很多同學來問哦~一直寫關於IOS的~軟體教學~
今天就來為大家推薦一篇關於Android VPN的教學
最新各大安卓手機廠商都推送了新版android 4.0.3的系統更新。
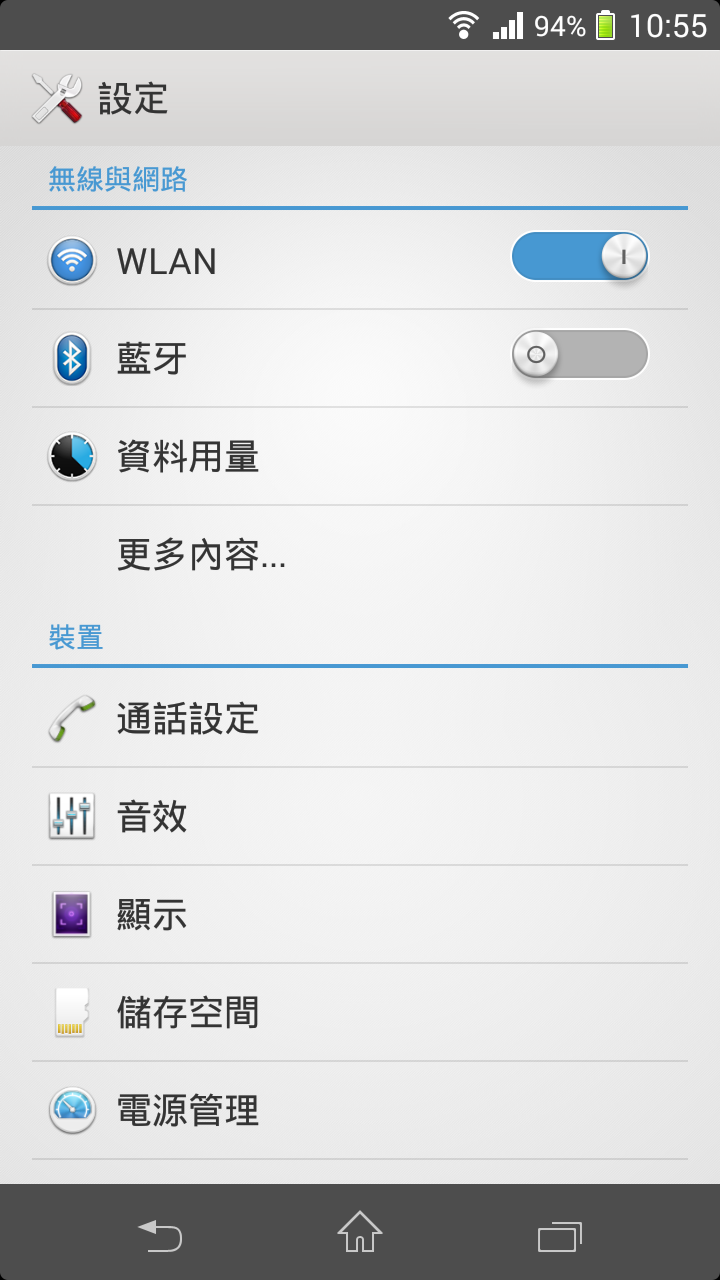
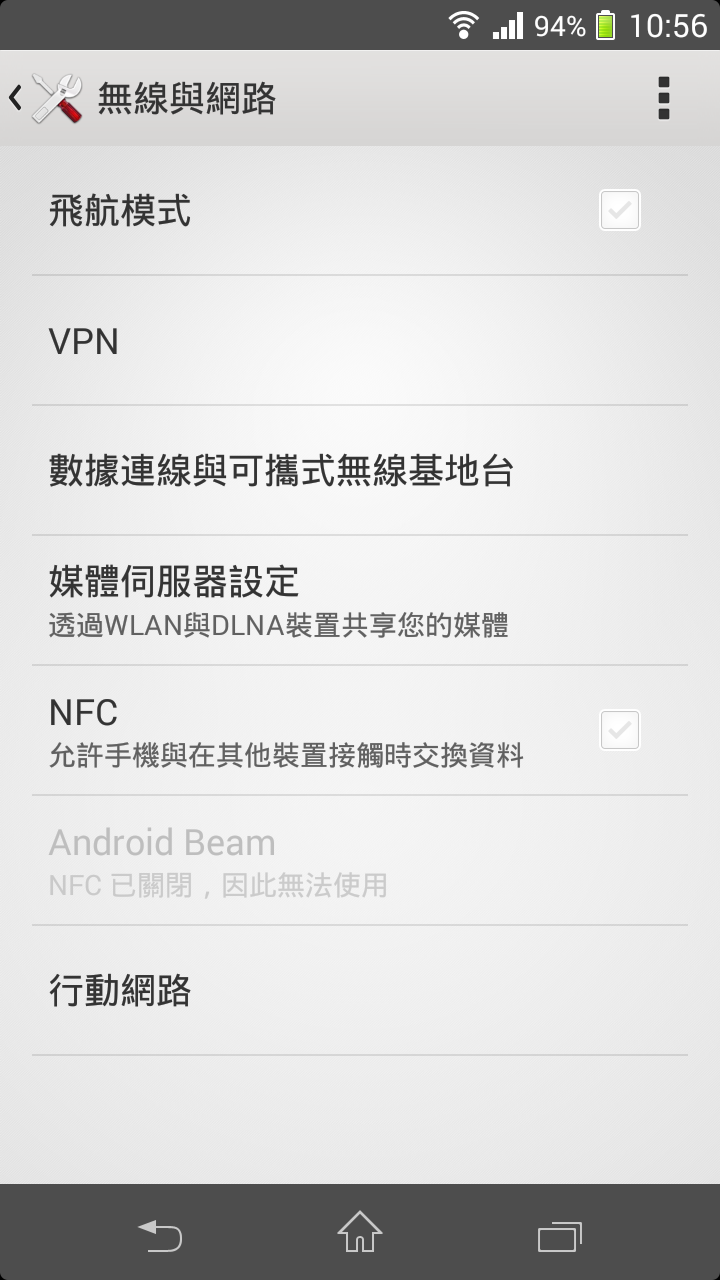
第一步:打開設定->更多內容->無線與網絡->VPN
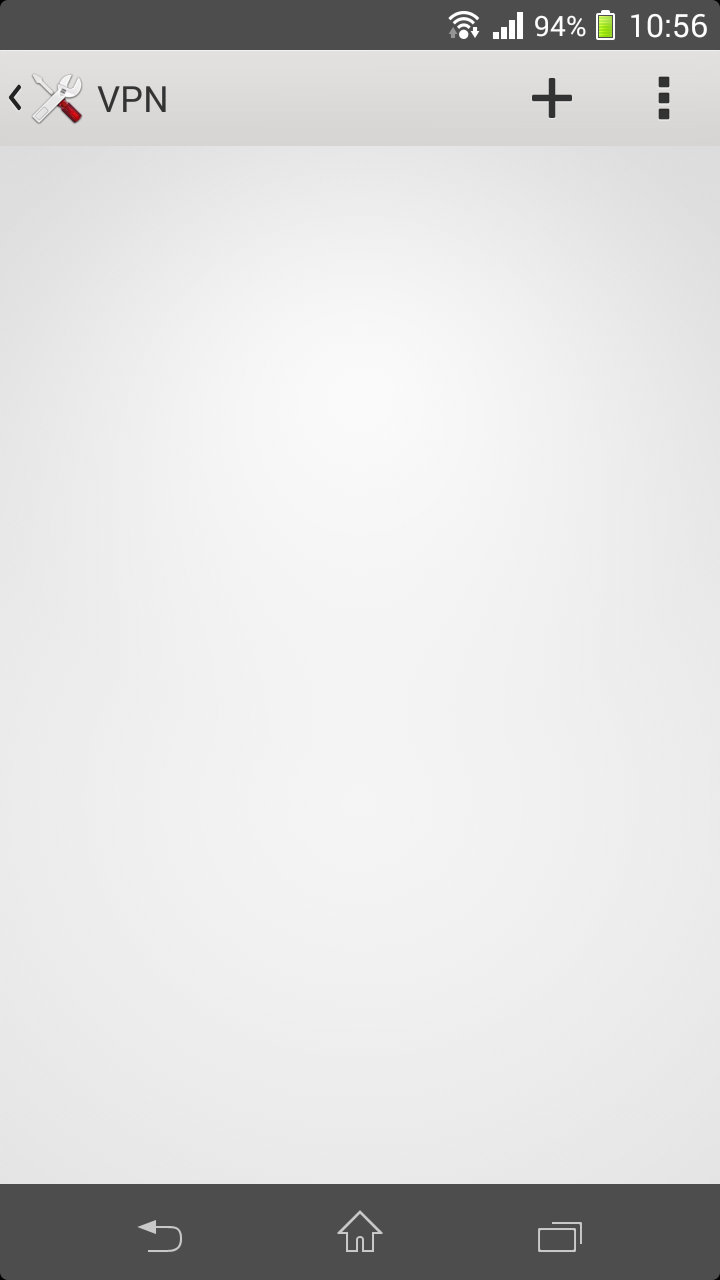
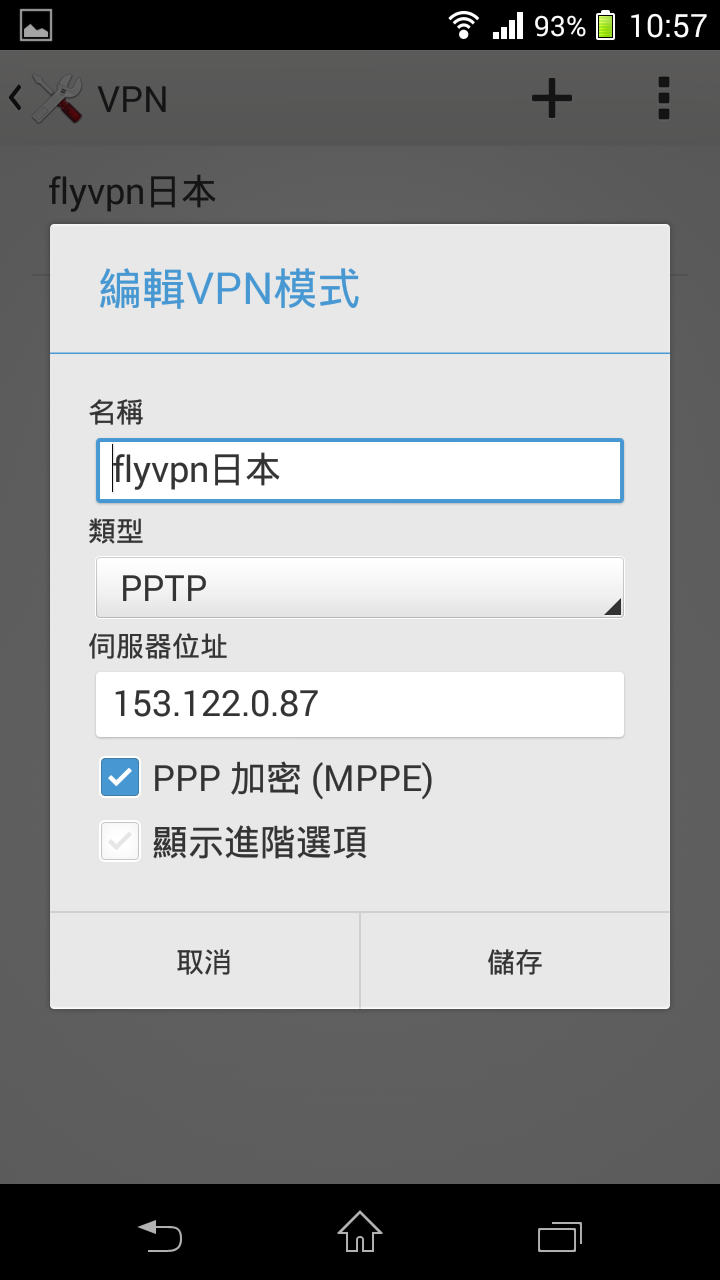
第二步:新增VPN模式 android4.3系統直接點擊右上角“+”新增
第三步:名稱FlyVPN+國家名稱好用於分類
選擇PPTP類型,并輸入Flyvpn伺服器地址
查詢各個國家的伺服器地址請戳 Flyvpn免費試用伺服器IP
選擇Flyvpn PPTP VPN
L2TP就可以選擇FlyVPN L2TP VPN
在下面的VPN秘鑰里輸入“vpnserver”
L2TP就可以選擇FlyVPN L2TP VPN
在下面的VPN秘鑰里輸入“vpnserver”
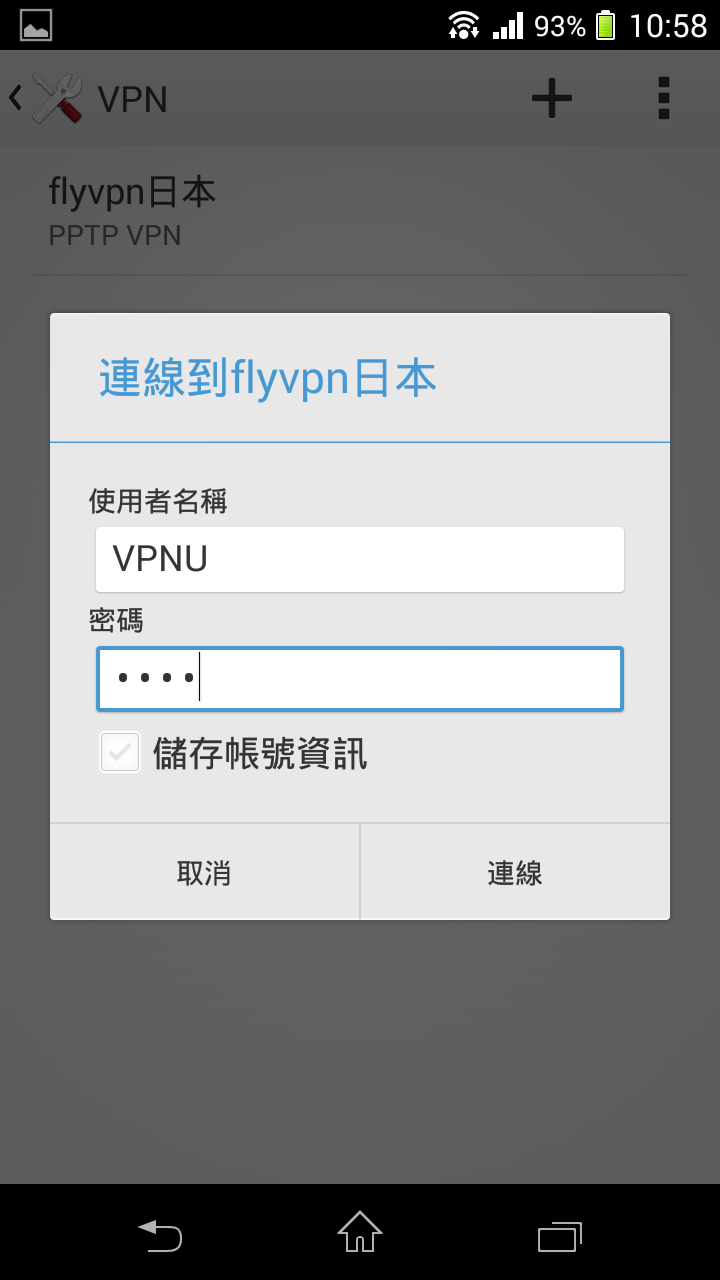
第四步:請戳 免費VPN試用 來查詢當前的免費帳號和密碼
注意密碼每20分鐘更新一次哦!可以嘗試刷新頁面即可
已經是FLYVPN付費用戶,就直接輸入自己的用戶名和密碼即可
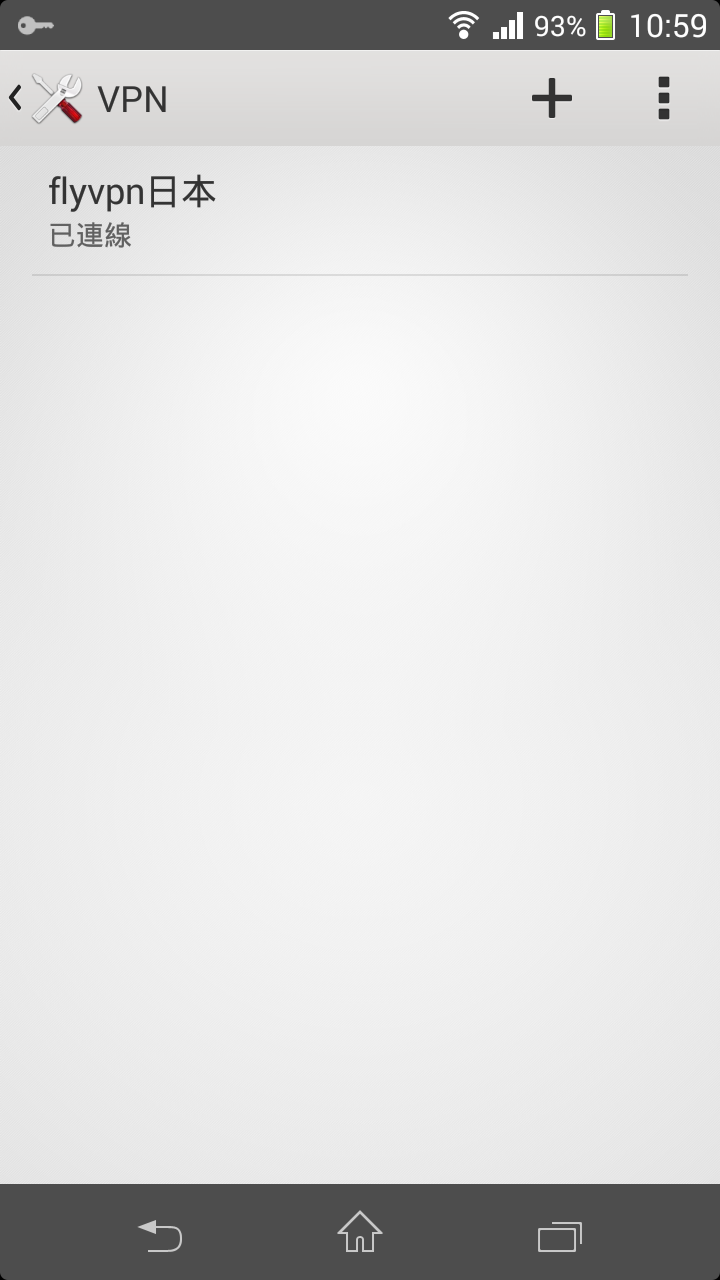
選擇連續,連線成功左上角會出現“鑰匙”標記
第五步:接下來打開LINE軟體
看到日本VPN限定的貼圖就說明已經成功啦!


